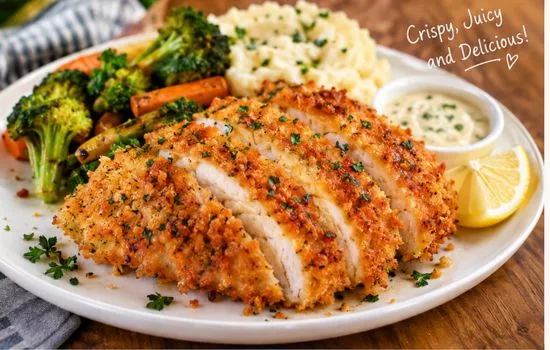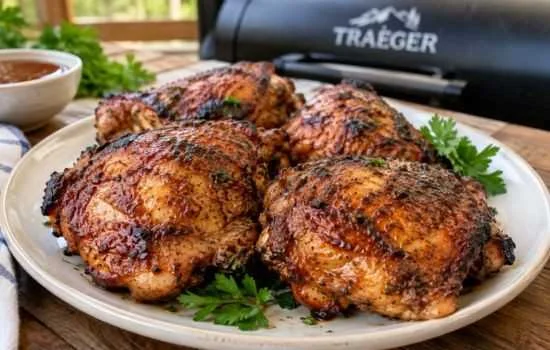
Easy healthy pan-fried chicken tenders are a quick way to prepare juicy, flavorful chicken with a brown outside. We make them with simple ingredients, a little oil, and in simple steps. There is no need for a deep fryer or a thick breading to enjoy tender chicken with amazing flavour.
This recipe works well for busy weeknights, meal prep, quick lunches, and family dinners. The best part is the short cooking time. Thin, evenly sized chicken tenders cook in minutes, making this a practical option when we want a homemade meal without spending a long time in the kitchen.
Serve them with roasted vegetables, a fresh salad, rice, or your favourite dipping sauce.
Why We Love These Healthy Pan-Fried Chicken Tenders
- Quick to prepare: We need only a few minutes to season the chicken and heat the skillet.
- Simple ingredients: Chicken, oil, salt, pepper, and a few seasonings provide plenty of flavour.
- Less oil than deep-frying: A small amount of oil helps brown the chicken without submerging it in fat.
- Juicy texture: Evenly sized pieces and careful cooking help prevent dry chicken.
- Easy to customise: We adjust the seasonings to suit different meals and personal tastes.
- Perfect for meal prep: Cooked chicken tenders work well in salads, wraps, sandwiches, and grain bowls.
- Naturally low in carbohydrates: Without flour or breadcrumbs, the chicken contains very little carbohydrate before adding sauces or side dishes.
Ingredients for Healthy Pan-Fried Chicken Tenders
We use a short list of ingredients to make flavorful chicken without complicated preparation.
- 1 pound (450 g) chicken tenderloins
- 1 tablespoon olive oil or avocado oil
- 1 teaspoon garlic powder
- 1 teaspoon paprika
- ½ teaspoon onion powder
- ½ teaspoon dried oregano
- ½ teaspoon salt, or to taste
- ¼ teaspoon ground black pepper
- 1 tablespoon fresh lemon juice, optional
- 1 tablespoon chopped fresh parsley, optional
Choosing the Chicken
Chicken tenderloins – these are the small strips of meat tucked away beneath the chicken breast – and they have a naturally tender texture to boot. They are a dream to cook up fast in a skillet, which is just one reason why we love them. If tenderloins aren’t available, we just use boneless, skinless chicken breasts that we cut up into strips of roughly the same thickness.
Having uniform pieces is super important when it comes to cooking – it means they all get done at the same time. If you’re cooking up strips of varying thickness, some are bound to dry out before the thicker ones are done.
Choosing the Right Oil to Cook With
When it comes to cooking oil, olive oil gives you a super mild, kinda earthy flavour that pairs well with just about anything, while avocado oil is just about as neutral as it gets. We use just enough oil to lightly coat the bottom of the pan – no need to overdo it with too much oil. Not enough and the chicken will stick and brown all wrong.
Adding Some Seasoning to Give it Some
A blend of garlic powder, paprika, onion powder, oregano, salt and black pepper makes for a pretty well-rounded seasoning. The paprika gives it a nice pop of colour, the garlic and onion add some nice depth, and the oregano brings a bit of a mild herbal note to the table.
We mix the seasonings in a little bowl before sprinkling them over the chicken – it just helps make sure the flavour gets distributed evenly across every piece.
How to Make Easy Healthy Pan-Fried Chicken Tenders
Step 1: Prepare the Chicken
Place the chicken tenderloins on a clean cutting board. Pat each piece dry with paper towels. Removing excess moisture helps the chicken brown instead of steaming in the pan.
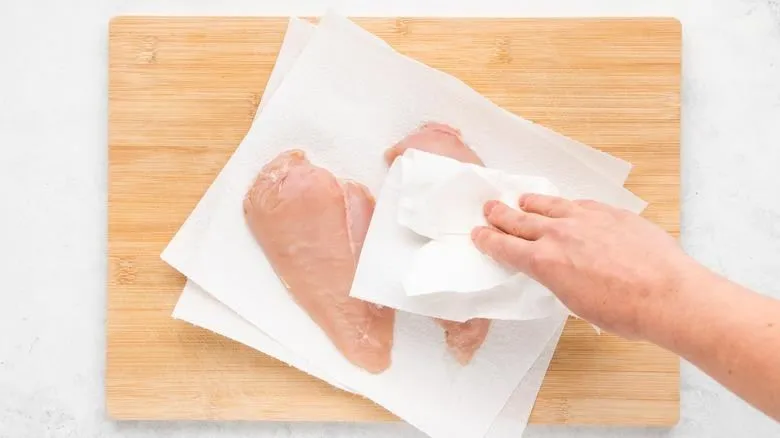
Trim away any loose pieces of fat or tough white tendon. The tendon is safe to eat, but its firm texture is unpleasant for some people. We use kitchen scissors or a small knife to remove it carefully.
If we use chicken breasts instead of tenderloins, we cut them lengthwise into strips about ½ to ¾ inch thick. Keeping the pieces close in size helps them cook evenly.
Step 2: Season the Chicken
Combine the garlic powder, paprika, onion powder, oregano, salt, and black pepper in a small bowl. Sprinkle the mixture over both sides of the chicken.
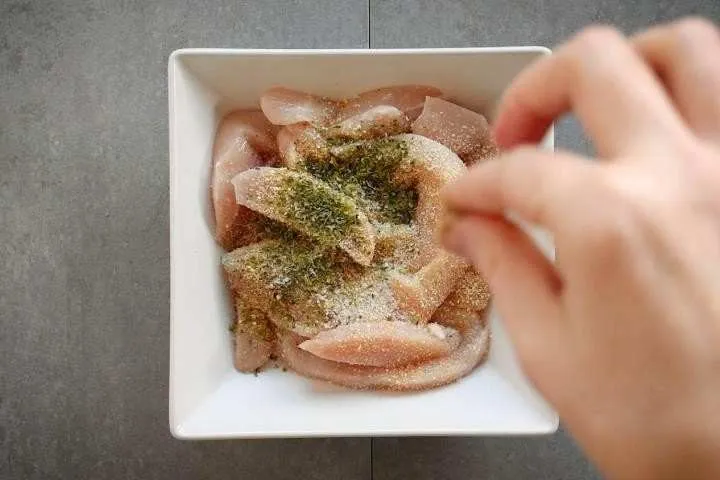
Press the seasonings gently onto the meat so they stick. We do not need flour, breadcrumbs, eggs, or a wet batter for this recipe.
For a stronger flavour, we season the chicken a few minutes before cooking. We avoid leaving raw chicken at room temperature for an extended period.
Step 3: Heat the Skillet
Place a large nonstick or cast-iron skillet over medium to medium-high heat. Add the olive oil and allow it to heat until it shimmers.
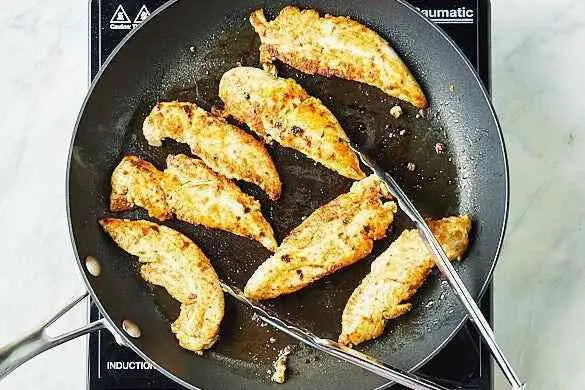
The oil should look fluid and glossy without smoking. A properly heated skillet helps the chicken develop a golden-brown surface and release more easily when it is ready to flip.
We choose a skillet large enough to hold the chicken in one layer. If the pieces touch or overlap, we cook them in batches.
Step 4: Pan-Fry the Chicken Tenders
Arrange the seasoned chicken in the hot skillet. Leave a little space between each piece.
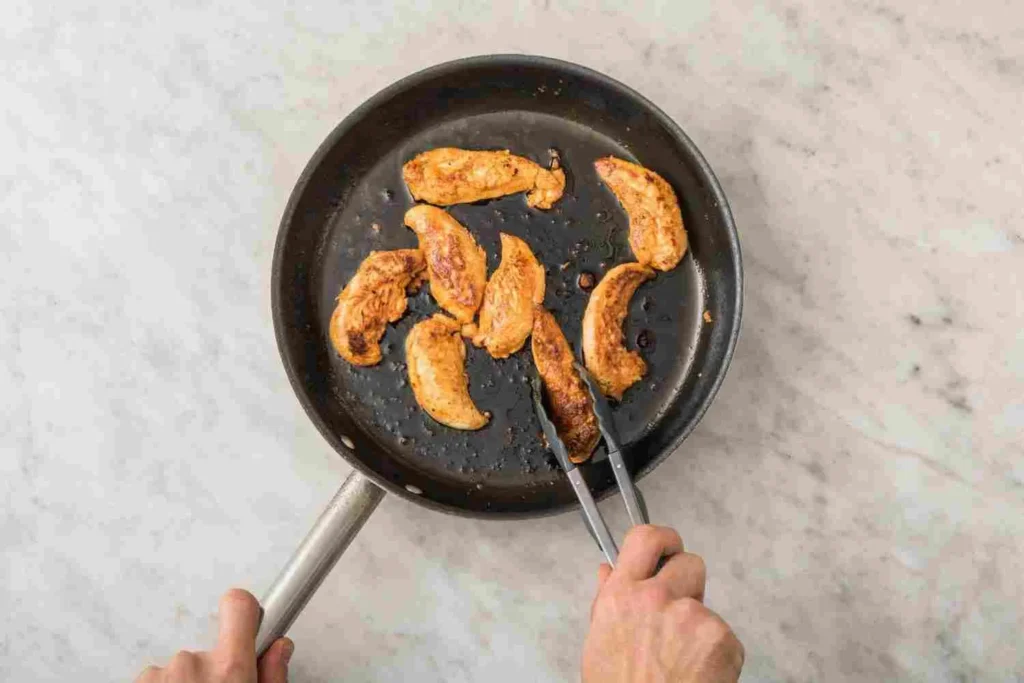
Cook the tenders for about 3–4 minutes on the first side without moving them too often. Once the underside develops a golden crust, turn each piece with tongs.
Cook the second side for another 3–4 minutes, adjusting the time according to the thickness of the chicken. Thicker pieces need more time, while thin strips cook faster.
Check the internal temperature with an instant-read food thermometer. Chicken is safe to eat when the thickest part reaches 165°F (74°C). Do not rely on the outside colour alone to judge doneness.
Step 5: Rest and Serve
Transfer the cooked chicken tenders to a clean plate. Let them rest for about 3 minutes before serving.
Finish with fresh lemon juice and chopped parsley if desired. The lemon adds brightness and balances the savoury seasoning.
Serve the tenders while warm for the best texture. If you prepare them ahead of time, store them properly and reheat them before serving.
How Long Do Chicken Tenders Take to Pan-Fry?
Thin chicken tenders generally take about 6–8 minutes to cook in a hot skillet. The exact time depends on their thickness, starting temperature, pan material, and heat level.
For this recipe, we allow about 5 minutes for preparation and 7 minutes for cooking, giving us a total time of approximately 12 minutes.
Use these estimates as a starting point:
- Thin tenderloins: About 3 minutes per side.
- Medium tenderloins: About 3–4 minutes per side.
- Thick chicken strips: About 4–5 minutes per side, sometimes longer.
Always check the thickest piece for an internal temperature of 165°F (74°C). If a piece needs more time, reduce the heat slightly and continue cooking until it reaches the safe temperature.
Pat the Chicken Dry
Moisture on the surface prevents good browning. Before seasoning, we pat the chicken dry with paper towels. This small step helps the outside develop a better colour.
Avoid Overcrowding the Pan
When too many pieces fill the skillet, they release moisture and lower the pan temperature. The chicken then steams instead of browning.
We cook in batches when needed. Each piece should have enough room for hot air and heat to reach its surface.
Do Not Flip the Chicken Too Early
Give the first side time to brown. If the chicken sticks when we try to turn it, it often needs more time or the pan was not hot enough.
Once a golden crust develops, the chicken should release more easily.
Use a Meat Thermometer
A thermometer gives us a reliable way to check doneness. Insert it into the thickest part of a tenderloin without touching the pan.
The target temperature is 165°F (74°C). Remove the chicken from the heat once it reaches this temperature.
Do Not Overcook the Meat
Chicken tenderloins are small and lean. They lose moisture quickly when cooked too long.
We begin checking the temperature near the lower end of the estimated cooking time. This helps prevent dry, tough chicken.
Let the Chicken Rest Briefly
A short rest allows the juices to settle before we cut or serve the meat. A few minutes is enough for these small pieces.
Healthy Chicken Tender Seasoning Ideas
We can change the flavour of this recipe without changing the basic cooking method. Choose one of these seasoning combinations for a different meal.
Garlic Herb Chicken Tenders
Combine garlic powder, dried oregano, black pepper, and salt. Finish the cooked chicken with lemon juice and fresh parsley. This combination works well with roasted potatoes, green beans, and salads.
Lemon Pepper Chicken Tenders
Season the chicken with lemon zest, black pepper, garlic powder, and salt. Squeeze fresh lemon juice over the cooked tenders.
This bright seasoning is a good match for rice bowls, steamed vegetables, and fresh greens.
Chilli Lime Chicken Tenders
Mix chilli powder, garlic powder, salt, and a little cumin. After cooking, add fresh lime juice.
Serve these tenders in tacos, burrito bowls, or lettuce wraps. Add avocado, tomatoes, and a spoonful of plain Greek yoghurt for a balanced meal.
Smoky Paprika Chicken Tenders
Combine smoked paprika, garlic powder, onion powder, black pepper, and salt. The smoked paprika adds a deeper flavour without requiring a barbecue sauce.
Pair the chicken with sweet potatoes, corn, or roasted broccoli.
Spicy Chicken Tenders
Add cayenne pepper or crushed red pepper to the seasoning blend. Start with a small amount and increase it according to your preferred heat level.
For extra flavour, toss the cooked chicken with a little hot sauce. Keep in mind that sauces add calories, sodium, or sugar depending on the product.
How to Store Leftover Chicken Tenders
Cooked chicken is useful for meal prep because we can add it to different dishes throughout the week. Proper storage helps maintain its quality and reduces the risk of foodborne illness.
Refrigerating Cooked Chicken
Let the chicken cool briefly, then transfer it to a shallow, airtight container. Refrigerate it within two hours of cooking, or within one hour when the surrounding temperature exceeds 90°F (32°C).
Store cooked chicken in the refrigerator at 40°F (4°C) or below. Use it within 3–4 days.
Freezing Chicken Tenders
For longer storage, place cooled chicken tenders in a freezer-safe container or bag. Remove as much excess air as possible and label the container with the date.
For best quality, use frozen cooked chicken within about 2–3 months. Thaw it in the refrigerator rather than on the kitchen counter.
Ways to Use Leftover Pan-Fried Chicken Tenders
We do not need to serve leftover chicken the same way twice. Slice or chop the cooked tenders and add them to another meal.
- Chicken salad: Add sliced chicken to lettuce, tomatoes, cucumber, and a light dressing.
- Chicken wraps: Roll the chicken with lettuce, shredded carrots, and yoghurt sauce in a tortilla.
- Chicken tacos: Add strips to warm tortillas with cabbage, salsa, and lime.
- Chicken pasta: Toss chopped chicken with pasta, spinach, garlic, and a light sauce.
- Grain bowls: Combine chicken with rice or quinoa, roasted vegetables, and a simple dressing.
- Chicken sandwiches: Place the tenders on whole-wheat bread with lettuce, tomato, and mustard.
These ideas help us prepare several quick meals from one batch of chicken.
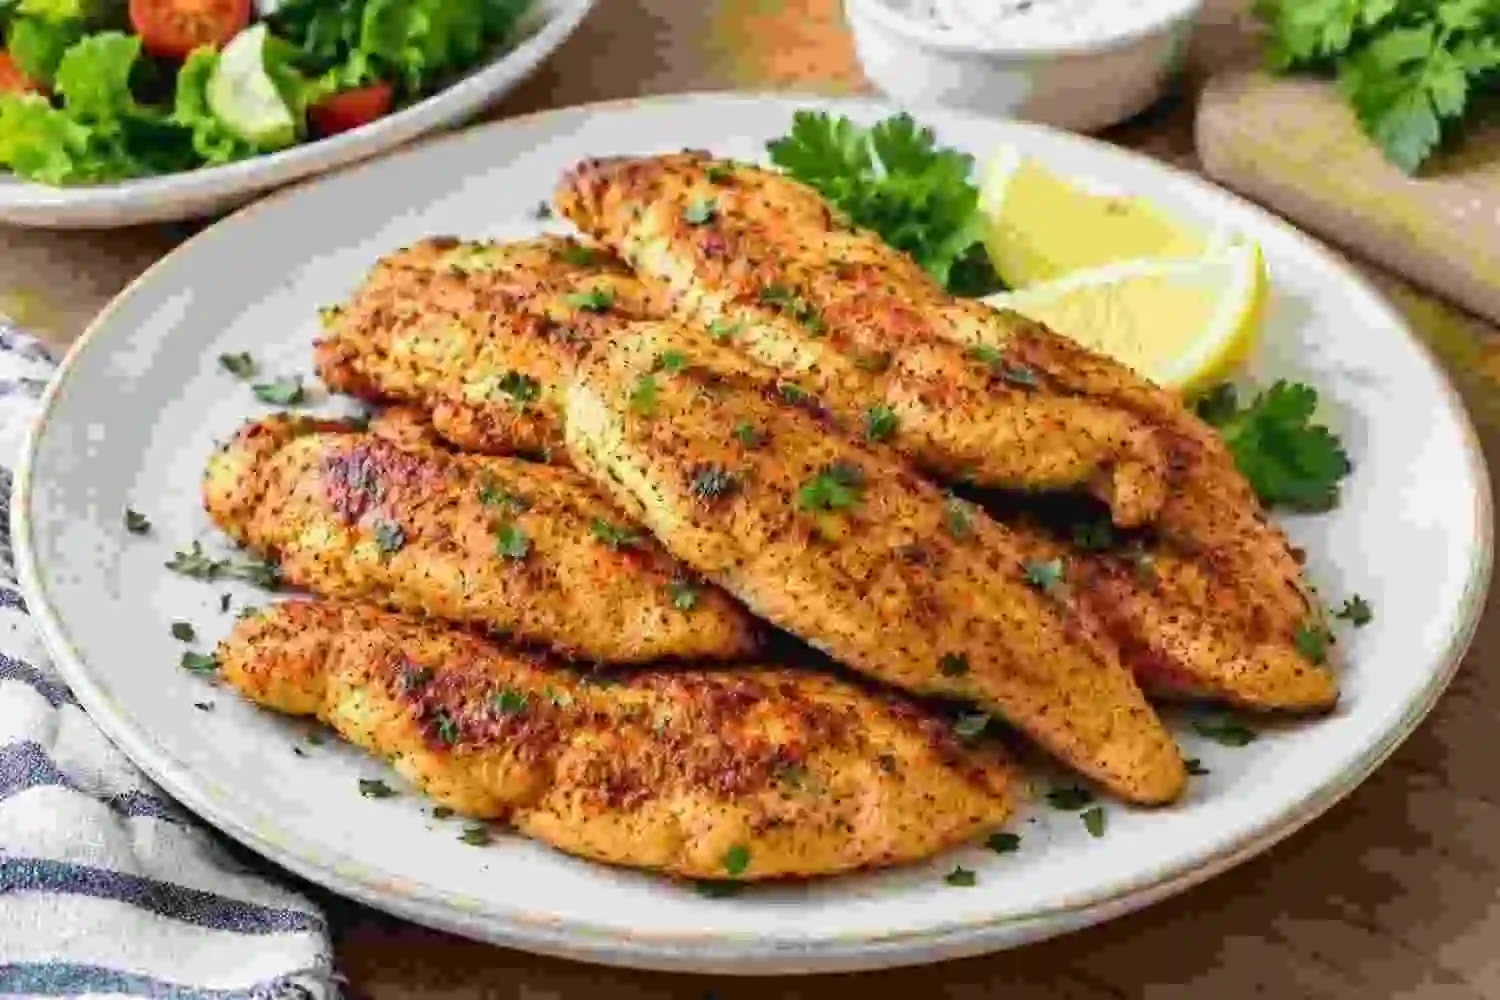
Easy Healthy Pan-Fried Chicken Tenders
Ingredients
Method
- Pat the chicken dry and trim any unwanted tendon or loose fat.
- Mix the garlic powder, paprika, onion powder, oregano, salt, and pepper. Season both sides of the chicken.
- Heat the oil in a large skillet over medium to medium-high heat until it shimmers.
- Arrange the chicken in one layer. Cook for 3–4 minutes on the first side.
- Turn and cook for another 3–4 minutes, adjusting the time for thickness.
- Check that the thickest piece reaches 165°F (74°C) internally.
- Rest for about 3 minutes. Add lemon juice and parsley, then serve.